When someone picks up IT equipment (a laptop, phone, monitor), you need something you can point to later that says: they received it. Paper handover forms go missing, scanned PDFs end up scattered around, and tracking who signed what becomes a headache.
With BetterDesk, you can send a handover document for digital signature during the handover. After it’s signed, the finished document is added to the related asset in TOPdesk so everything stays in one place.
This guide shows you how to set up a flow that automatically asks for a signature when an asset is handed over.
Before you start
- A BetterDesk account with an organization set up
- At least one asset in TOPdesk that's synced over
- The BetterDesk app on your phone (iOS or Android)
- Admin or owner permissions
Step 1: Create a Document Flow
A document flow is basically a form that your team fills out on their phone. You define the fields, and they do the rest on-site.
- Head to Dashboard > Document Flows
- Hit New Flow
- Give it a name like "Laptop Handover" and optionally a description
- Leave it on Draft for now, you can publish once everything's set up

Step 2: Add the Form Fields
Now add the fields your technicians will fill in during the handover. Here's what a typical setup looks like:
| Field Type | Purpose | Example |
|---|---|---|
| Person Search | Look up the employee who's getting the device | "Recipient" |
| Asset Search | Pick the TOPdesk asset being handed over | "Asset" |
| Text | Extra notes, condition of the device, etc. | "Remarks" |
| Signature | The employee signs here | "Employee Signature" |
| Signature | The IT tech signs here | "Technician Signature" |

Configuring the Signature Field
The signature field has a few settings worth knowing about:
- Signee Type: Who's signing?
- Logged-in user: whoever is using the app right now (usually the IT tech)
- Recipient: someone else, tied to a person-search field in the same flow
- Title: The label that shows up in the signature popup (e.g., "Employee Signature")
- Linked Person Field: If you picked "Recipient" above, this tells BetterDesk which person-search field to pull the signer's identity from.
You can have multiple signature fields in one flow, one for the employee and one for the technician, for instance.

Step 3: Set Up Actions
This is the part that ties everything together. Under the Actions tab, you tell BetterDesk what to do after someone submits the form:
Generate Document
- Pick or create an HTML template for the handover document
- Drop in
{{variable}}placeholders for things like name, date, and asset details - Signatures get embedded in the PDF automatically
- You can also include profile photos next to the signatures
- Send the PDF to the recipient, the person who submitted it, or any email address you want
- Set the recipient type to Signer and it'll grab the email from the signature data
Save to TOPdesk
- Attaches the signed PDF straight to the asset in TOPdesk
- It knows which asset from the asset-search field in the form
All of this runs in the background. The technician hits submit, and the rest just happens. PDF gets generated, email goes out, file lands in TOPdesk.

Step 4: Publish the Flow
Once you're happy with the fields and actions, flip the status to Published. It'll show up in the mobile app right away.
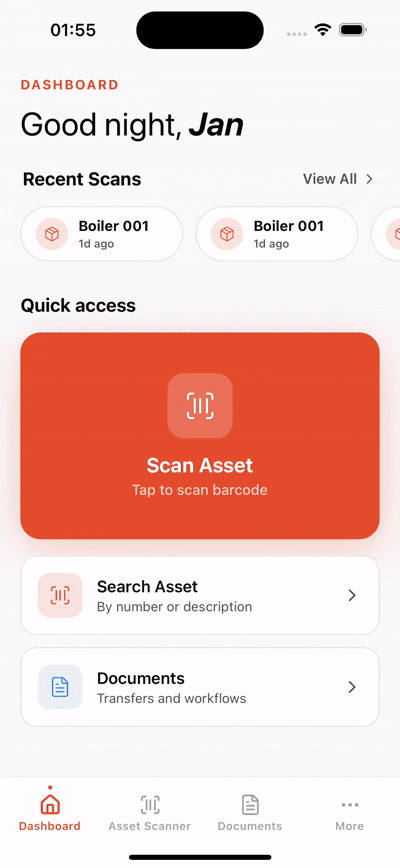
The Mobile Experience
Here's what it looks like from the technician's side:
- Open the flow from Documents in the BetterDesk app
- Find the recipient: just start typing a name
- Pick the asset: scan the barcode or search by name/serial number
- Add a note if needed ("Small scratch on lid", that kind of thing)
- Tap the signature button: opens a full-screen canvas to sign on
Signing
We put some thought into making the signing experience feel right:
- Landscape mode: The phone unlocks rotation so people can sign sideways, which just feels more natural
- Pen thickness: Thin, medium, or thick, pick what works
- Confirm before saving: You see a preview first and can redo it if it looks off
- Who's signing: The name and photo show up so there's no confusion about whose turn it is
What gets saved
A signature captures more than just the drawing:
| Data Point | Purpose |
|---|---|
| Signature image (PNG) | Goes into the PDF |
| Stroke data | The raw pen coordinates, in case you ever need to verify it |
| Timestamp | When it was signed, down to the second |
| Signer identity | Name and email of whoever signed |
| GPS coordinates | Where they were standing when they signed |
| Device info | Phone model and OS, for the audit trail |
Put together, you've got a solid trail: who signed, when, where, and on what device.
Step 5: Review Submissions
Once forms start coming in, you can check them in the dashboard:
- Go to Document Flows and open your flow
- Switch to the Submissions tab
- Click into any submission for the full picture
You'll see:
- Everything they filled in
- The signatures
- GPS location on a map
- Device and IP info
- The generated PDF
- Whether each action ran (generated, emailed, saved to TOPdesk)
If something went wrong with the PDF, you can hit regenerate right from the submission detail page.

Tips
Get both people to sign
Have the recipient and the technician both sign. If there's ever a dispute, you've got both sides covered.
Link signatures to person fields
Set the signee type to "Recipient" and link it to a person-search field. That way BetterDesk can email the signed PDF to the right person and pull their photo into the document.
Put asset details in your template
Add the serial number, model, and asset tag to the document template. Makes it clear exactly which device the signature is for.
Make all signatures required
You can block submission until all signature fields are filled in. Prevents half-finished handovers from slipping through.
The TOPdesk connection
The whole thing plugs into TOPdesk without any changes on that side:
- Assets sync over from TOPdesk, so your technicians are searching real inventory
- People come from Entra ID or TOPdesk person data
- Signed PDFs get uploaded as attachments on the TOPdesk asset
- Nothing to configure in TOPdesk: BetterDesk just works alongside it
That's it
The whole setup takes maybe 10 minutes:
- Create a flow with person, asset, and signature fields
- Set up who signs and how they're identified
- Add actions: generate PDF, email, save to TOPdesk
- Publish and you're good to go
From that point on, every handover gets a proper record, signature, timestamp, GPS, device info, all attached to the right asset in TOPdesk.